How do you make your own soil?
And Have The Best Grow Of Your Life!
Download PDF File or read below
Have you ever thought about how a bagged soil company settles on a recipe? What about where they get the ingredients from? Can you trust the soil companies?
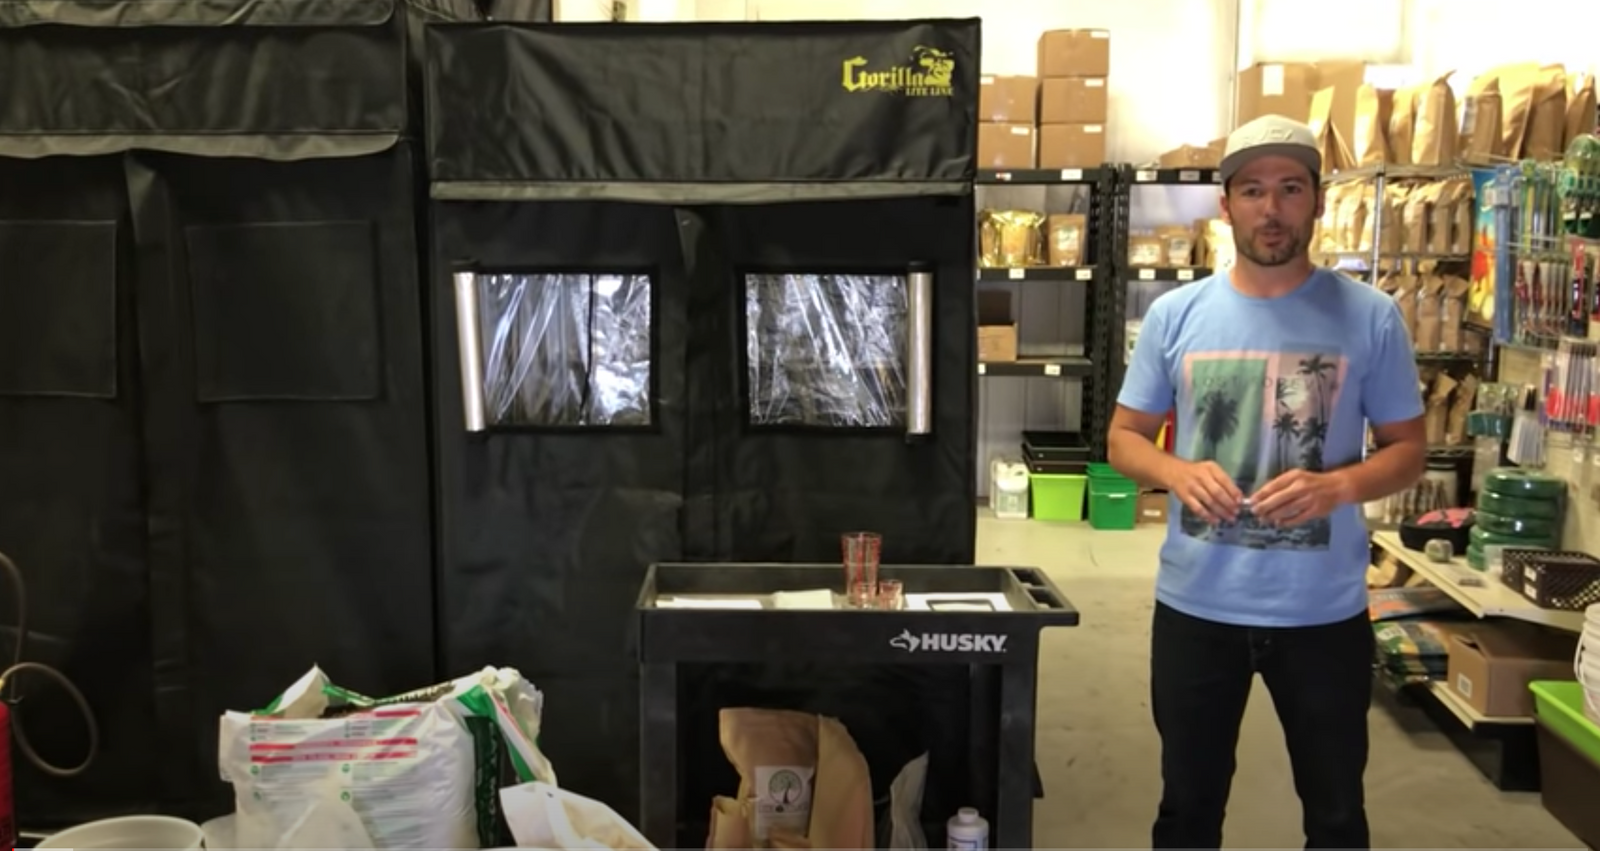
Watch the video below or Read on further for detailed instructions.
When you are done reading this you will have all the tools to build your own potting soil from scratch and you’ll have the confidence to know it’s going to work as planned.
Part 1: What is in potting soil?
Have you ever thought about how a bagged soil company settles on a recipe? What about where they get the ingredients from? Can you trust the soil companies?
There are so many soil products on the market and most manufacturers are getting all the same ingredients from the same sources and getting them bagged all at the same facilities. All that changes is the label and exact ingredients used. There is little regulation in the industry and the only approval for a Label is if you are citing NPK numbers or fertilizer claims. Besides that, you can list your most expensive and attractive ingredient First on the label even if that ingredient happens to be in the lowest concentration in the soil. This allows companies to list ingredients that sound incredible but then fail to back them up with actual quantities used. Then as a soil company gets larger they have to buy in large scale and start looking to the most affordable sources for ingredients such as, City Waste, Bio-Solids, Poultry Waste, Cattle Waste. Think like a big company for a minute and compare bagged soil to our food industry but with less regulation, then you can see how bad the situation truly is. Thankfully there are a number of decent potting soils on the market but none will compare to making your own from scratch.
So, let’s say you have decided to make your own soil from scratch and are willing to do whatever it takes to make the best. Well, where do you start? There are so many recipes out there!!!
There is so much talk online in the organic forums about creating an ideal soil. Many different recipes from many different growers. Some claiming their soil is the best, others indicating that you should use spikes of nutrients and layers of different soil. It's challenging as a new grower to actually decide on a recipe and then stick to it. One of the many things that growers do when using bottled nutrients, is change nutrient brands all the time. Usually looking for the ultimate grow product that will finally allow them to purchase a good grow. This mentality usually wears off after a few runs but it's important not to start that mind set all over again in organics. If you are brand new, start to learn why each ingredient is added to a mix. Once you have that understanding you can easily make a mix from scratch from components that you have available locally or regionally depending on your budget.
In the next step I’ll give you the fundamental basic math to understand the recipe in different volumes and how to design your own mix based on how much soil you will require.
Step #1: How to follow the recipe:
We often discuss making a recipe in “parts” instead of exact volumes because this allows you to scale the recipe up. So if the recipe is a 3 part mix, that means each part will be 1/3rd of the total. The first recipe we use will use a 3 part base and you could make that recipe using a 5 gallon bucket or a wheelbarrow as long as each part was equal. If you want to make a certain amount of soil we give you some conversions below to help in the process. On average the particles will blend together and the sum of the total recipe will be less volume than each individual component combined. For this reason, be sure to error on the side of making a little too much soil instead of trying to be just right.
Here is the math we will use:
1 Cubic Yard = 200 Gallons (Approximate)
1 Cubic Yard = 27 Cubic Feet
1 Cubic Foot = 7.5 Gallons
3.8 CF Bale of Peatmoss = 6 cubic feet when fluffed up
3.0 CF Bale of Peatmoss = 4.5 cubic feet when fluffed up
2.0 CF Bale of Peatmoss = 3 cubic feet when fluffed up
Step # 2: Choose The Recipe
Recipe #1: Timeless Classic recipe called the Coots Mix
This recipe has evolved from longtime growers through the online grow forums and has set a benchmark for quality no-till inputs.
Recipe #2: Building A Soil With Local Inputs Following Coots Recipe
Following the above recipe we will be suggesting proven inputs to make sure that your recipe comes out with the expected results. In this Recipe #2 we change the percentages to make a lighter soil that will allow for a gamble with local inputs without using a soil lab.
Recipe #3: Building A Soil Using soil testing to make it as balanced as possible
In this recipe we tackle that challenge of designing a potting soil that will perform at the highest level with the least cost by sending several samples to the lab and using soil testing and CEC balancing to make sure it’s as good as you can get with the inputs available to you.
Recipe #1:
Step #1 Get your base ingredients together.
This is benchmark to use at first and then start tweaking based on your situation.
Ratio 1:1:1
This means that there are 3 main components at 1 part each.
Example: To make 15 gallons of soil. 1 Part would be 5 gallons.
1 Part Sphagnum Peatmoss, Coco, Leaf-mold, etc.
1 Part Aeration material like lava rock, pumice, perlite, rice hulls etc.
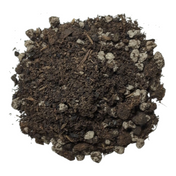
1 Part Compost
Notice: Most local compost will be better off used at 5-15% instead of 33.33% as this recipe calls for. For that reason we suggest seeking out quality compost with a known reputation of move on to recipe #2.
The recipe that we use for our coots mix is as follows:
33.33% Sphagnum Peat Moss 33.33% Compost 33.33% Pumice and Rice Hulls
You’ll notice that if you combine the rice hulls and pumice it’s basically a 1:1:1 mix we just like to add 2 aeration components. Some people also add half Vermicompost and Half Regular Compost.
We use Oly Mountain Fish Compost and Malibu Biodynamic Compost along with a few local sources that we have tested extensively.
Step #2: Adding The Minerals & Nutrients:
Consider each ingredient and why it's being added. Also consider that many organic approved products just aren't as good as others. The top ingredients that are popular that most organic growers avoid are as follows: Blood meal, bone meal, guano, soy, cotton, corn and many other soil conditioners that come from potential GMO crops etc.
A brief explanation of using Cubic Feet as a measurement: Most soil companies sell their soil by the Cubic Foot as do we. But there is a big difference between what constitutes a Cubic Foot. When looking up the Volume for a “DRY” cubic foot in gallons you’ll find 6.4285 gallons. But when looking up the “Liquid” volume for a Cubic Foot you’ll find 7.4805 gallons. Well you won’t be surprised to find that most home gardeners use 7.5 gallons as a cubic foot but most soil companies use 6.4285 gallons per cubic foot. This will explain why you have less soil in some bags than others from two different companies. To be clear, we use 7.5 Gallons at BuildASoil. com for all of our soil bagging and measurements for addition of amendments.
Here is a recipe that has been proven with soil testing at labs to have a good ratio of nutrients and minerals.
1/2 Cup per cubic foot the following:
* Karanja Cake (NPK, Micro Nutrients and reported Bug Defense all in one)
* Kelp Meal (NPK, Micro Nutrients, Growth Hormones and many other benefits)
* Crustacean Meal (Crab and/or Shrimp Meal) (Calcium, Nitrogen and Chitin along with other benefits)
4 Cups per cubic foot of a mineral mix:
- 2 Cup Basalt (Paramagnetic Rock Dust from lava flow that is high in micronutrients)
- 1 Cup Gypsum (Calcium and Sulfur)
- 1 Cup Oyster Shell Flour (Calcium Carbonate)
The Nutrients added above cover all the NPK and all the micronutrients and I could explain why each ingredient is added all day long, but I encourage you to do your own research.
Now let’s say that you had access to a range of fertilizer amendments to use, which ones should you choose? I like to choose the best product and also the most economical. For instance, Guano is really expensive and typically only brings one or two things to the table. Whereas Kelp Meal is fairly affordable and brings every nutrient and micronutrient with it along with growth hormones and other secondary benefits. Would it be better to eat Red meat all day long or maybe a little fish protein with some vegetable protein? Same for your soil! No need to get all crazy with Blood meal when we can use, Crustacean, Karanja Seed Meal, Fish Meal etc. and all of the ingredients I just mentioned bring tons of secondary benefits where as the Blood Meal only brings Nitrogen in fast release form.
Note: If you only have access to Blood Meal, you will be fine and can totally use it, I’m not trying to get on a high horse and look down on people that use these ingredients. I’m only hoping to give reasons to look for better ingredients when those choices are available and providing some reasons for those that want them. All in all, I’d rather see a Blood, Bone and Guano Mix over a synthetic nutrient grow all day long.... but if you start looking into the environmental impact of some of the ingredients we use you’ll quickly consider making your own soil from totally local ingredients and once you have an idea how well this recipe performs you can start tweaking it to use what is available in your region.
Some Recommendations for custom soil building:
MORE isn’t always better. Consider the Kelp, Crustacean and Karanja inputs that I recently recommended. Adding 4000 Pounds per acre is the same as adding about 5 lbs per Cubic Yard which is just under a half cup of material per cubic foot of soil! So while a half cup doesn’t sound like a lot, adding a little extra can overdo your recipe and it would be better to add it later via topdressing. Less is More!
Most soil recipes have a total of 1.5 - 3 cups of Total fertilizers added per cubic foot of Mix. I like to keep things really minimal knowing I can always add more later. Besides that, topdressing is so easy on smaller scale. No worry about burning and great slow release soil builder as the worms take the material into the soil and make it available to the plant. One other reason why I like to add small amounts of simple ingredients is because it allows you to diversify the soil with ingredients you haven’t added later on. For instance, my recipe doesn’t call for Alfalfa, but I love the stuff and make tea’s with it sometimes, no reason to have it in the soil and in the tea. But if you never want to brew teas you could always top dress. It’s up to you.
RECIPE #2:
8 Parts
5:2:1
5 Parts Sphagnum Peatmoss (62.5%)
2 Part Aeration (25%)
1 Part Compost (12.5%)
Using these ratios will insure that you have a lower chance of an imbalanced compost messing up your recipe. Most composts work very well at 10 – 15% especially if you are finding the best recommended compost locally.
Per Cubic Foot of Soil:
½ Cup Karanja Cake
¼ Cup Kelp meal
½ Cup Crustacean Meal
½ Cup Gypsum
1 Cup Basalt
This recipe should be used in larger volumes and you might have to topdress or supplement with compost tea but it is cost effective and will produce wonderful results with most generally good inputs.
RECIPE #3:
Mix several different ratios together and send them to the lab.
70% Peat, 10% Compost, 20% Aeration
60% Peat, 20% Compost, 20% Aeration
50% Peat, 30% Compost, 20 % Aeration
33% Peat, 33% Compost, 33% Aeration
(If you have access to high quality local topsoil you can try testing with 5% and 10% and see how those tests look, just take out some of the compost or peat to make room)
Send each sample to Logan Labs by purchasing the Complete Logan Labs test over at BuildASoil.com This will allow you to receive the soil test from logan labs and the complete report on how to amend the soil to make it just right. https://buildasoil.com/products/logan-labs-soil-test
First Sample is $150.00 For the Complete BuildASoil Package and Full Report.
This INCLUDES a detailed report and soil test interpretation. Your custom report will be created to include exact numbers for amending your field or potting soil along with helpful tips for your particular scenario.
Soil Test Interpretation and Report Powered by @GROWRU
(GrowRu and BuildASoil have been working together since 2017 and after countless hours discussing the nuances of soil testing together a mutual trust has been developed and BuildASoil is very proud to offer his services along with our support)
This includes:
- Standard Melich 3 Soil Test.
- Extras: Cobalt, Molybydenum, Ammonium Nitrogen, Nitrate Nitrogen, Selenium, Silicon, EC
- Saturated Paste Test
- AA 8.2 Soil Test for accurate CEC and Calcium numbers.
We send you a package with soil sample bags and pre-printed form to send of to Logan Labs along with pre-paid postage to make it very simple.
General Tips:
MIXING:
Tarp, Flat Shovel, Rake or whatever you have to help.
Mixing on a tarp keeps things clean and allows you to spread and flip the tarp edges to help mix the soil.
WATER:
Make sure to moisten everything as you go so to make it easier to hydrate. If you mix everything bone dry and wait until the end it will be hard to get wet without overwatering. The Peatmoss is hydrophobic by nature and we like to use ThermX70 Yucca to help feed the soil microbes and also break the hydrophobic tension of the peat when moistening fresh soil.
CLUMPS:
Smash them with the shovel, grab them with your hands and smash them up, stomp on them, do whatever it takes to get a nice even consistency! This will allow for even porosity and maximize results.
COOKING:
You’ll hear this term sooner or later when discussing mixing potting soil. It just means that when you mix a recipe together it can get very hot to the touch while the moisture and compost and all the ingredients come together and homogenize. Depending on the Carbon to Nitrogen ratio and the inputs used it can get as high as 160 Degrees when made in at least a 1 yard pile. Now that being said, the recipes that we call for don’t use Blood Meal or Guano or anything with really high nitrogen and normally these recipes don’t require and real cook time but the rule of thumb is to mix up your soil and let it sit for at least a week prior to use. Some people making super hot soils like super soil let it “cook” for 2 months. I often mix and plant immediately into my recipe with no problems especially when using awesome products like Rootwise Mycrobe Complete.
SUPPLEMENTAL:
When making home made potting mixes you can always supplement with watering in or foliar spraying additional inputs like Yucca, Aloe, Coconut water, and many others available at buildasoil.com for a good suggestion list check out our No-Till Bundle that has all of our favorite products at a discount in one package.
Don’t have the time to make your own?
Check out our most popular recipes below!
BuildASoil Light: Our Most Cost Effective and Similar to Recipe #2
BuildASoil 3.0: Our Most loaded with extra inputs
BuildASoil Classic: Our Version of Recipe #1 the Coots mix!
Once your soil is mixed up, you can plant immediately into it and add a compost tea to kick start the process. With that being said, it always works a little better if you let the soil sit in a big pile to homogenize or “Cook.” Without the use of Bloods, Bones and Guano’s it shouldn’t burn any plants but will be ready to use faster with the pre-digestion of the nutrients in the soil. When making soil in big piles above 200 gallons things heat up really fast and will need to be turned every couple days until the heating stops and you are then ready to use the soil.
I hope this short and simple home made soil tutorial can help you make your own soil, because once you do, you’ll never go back to bagged soil ever again.
If you have any questions post them up here!